
DIY Siding Repair: Common Mistakes and How to Avoid Them


Understanding the Basics of DIY Siding Repair
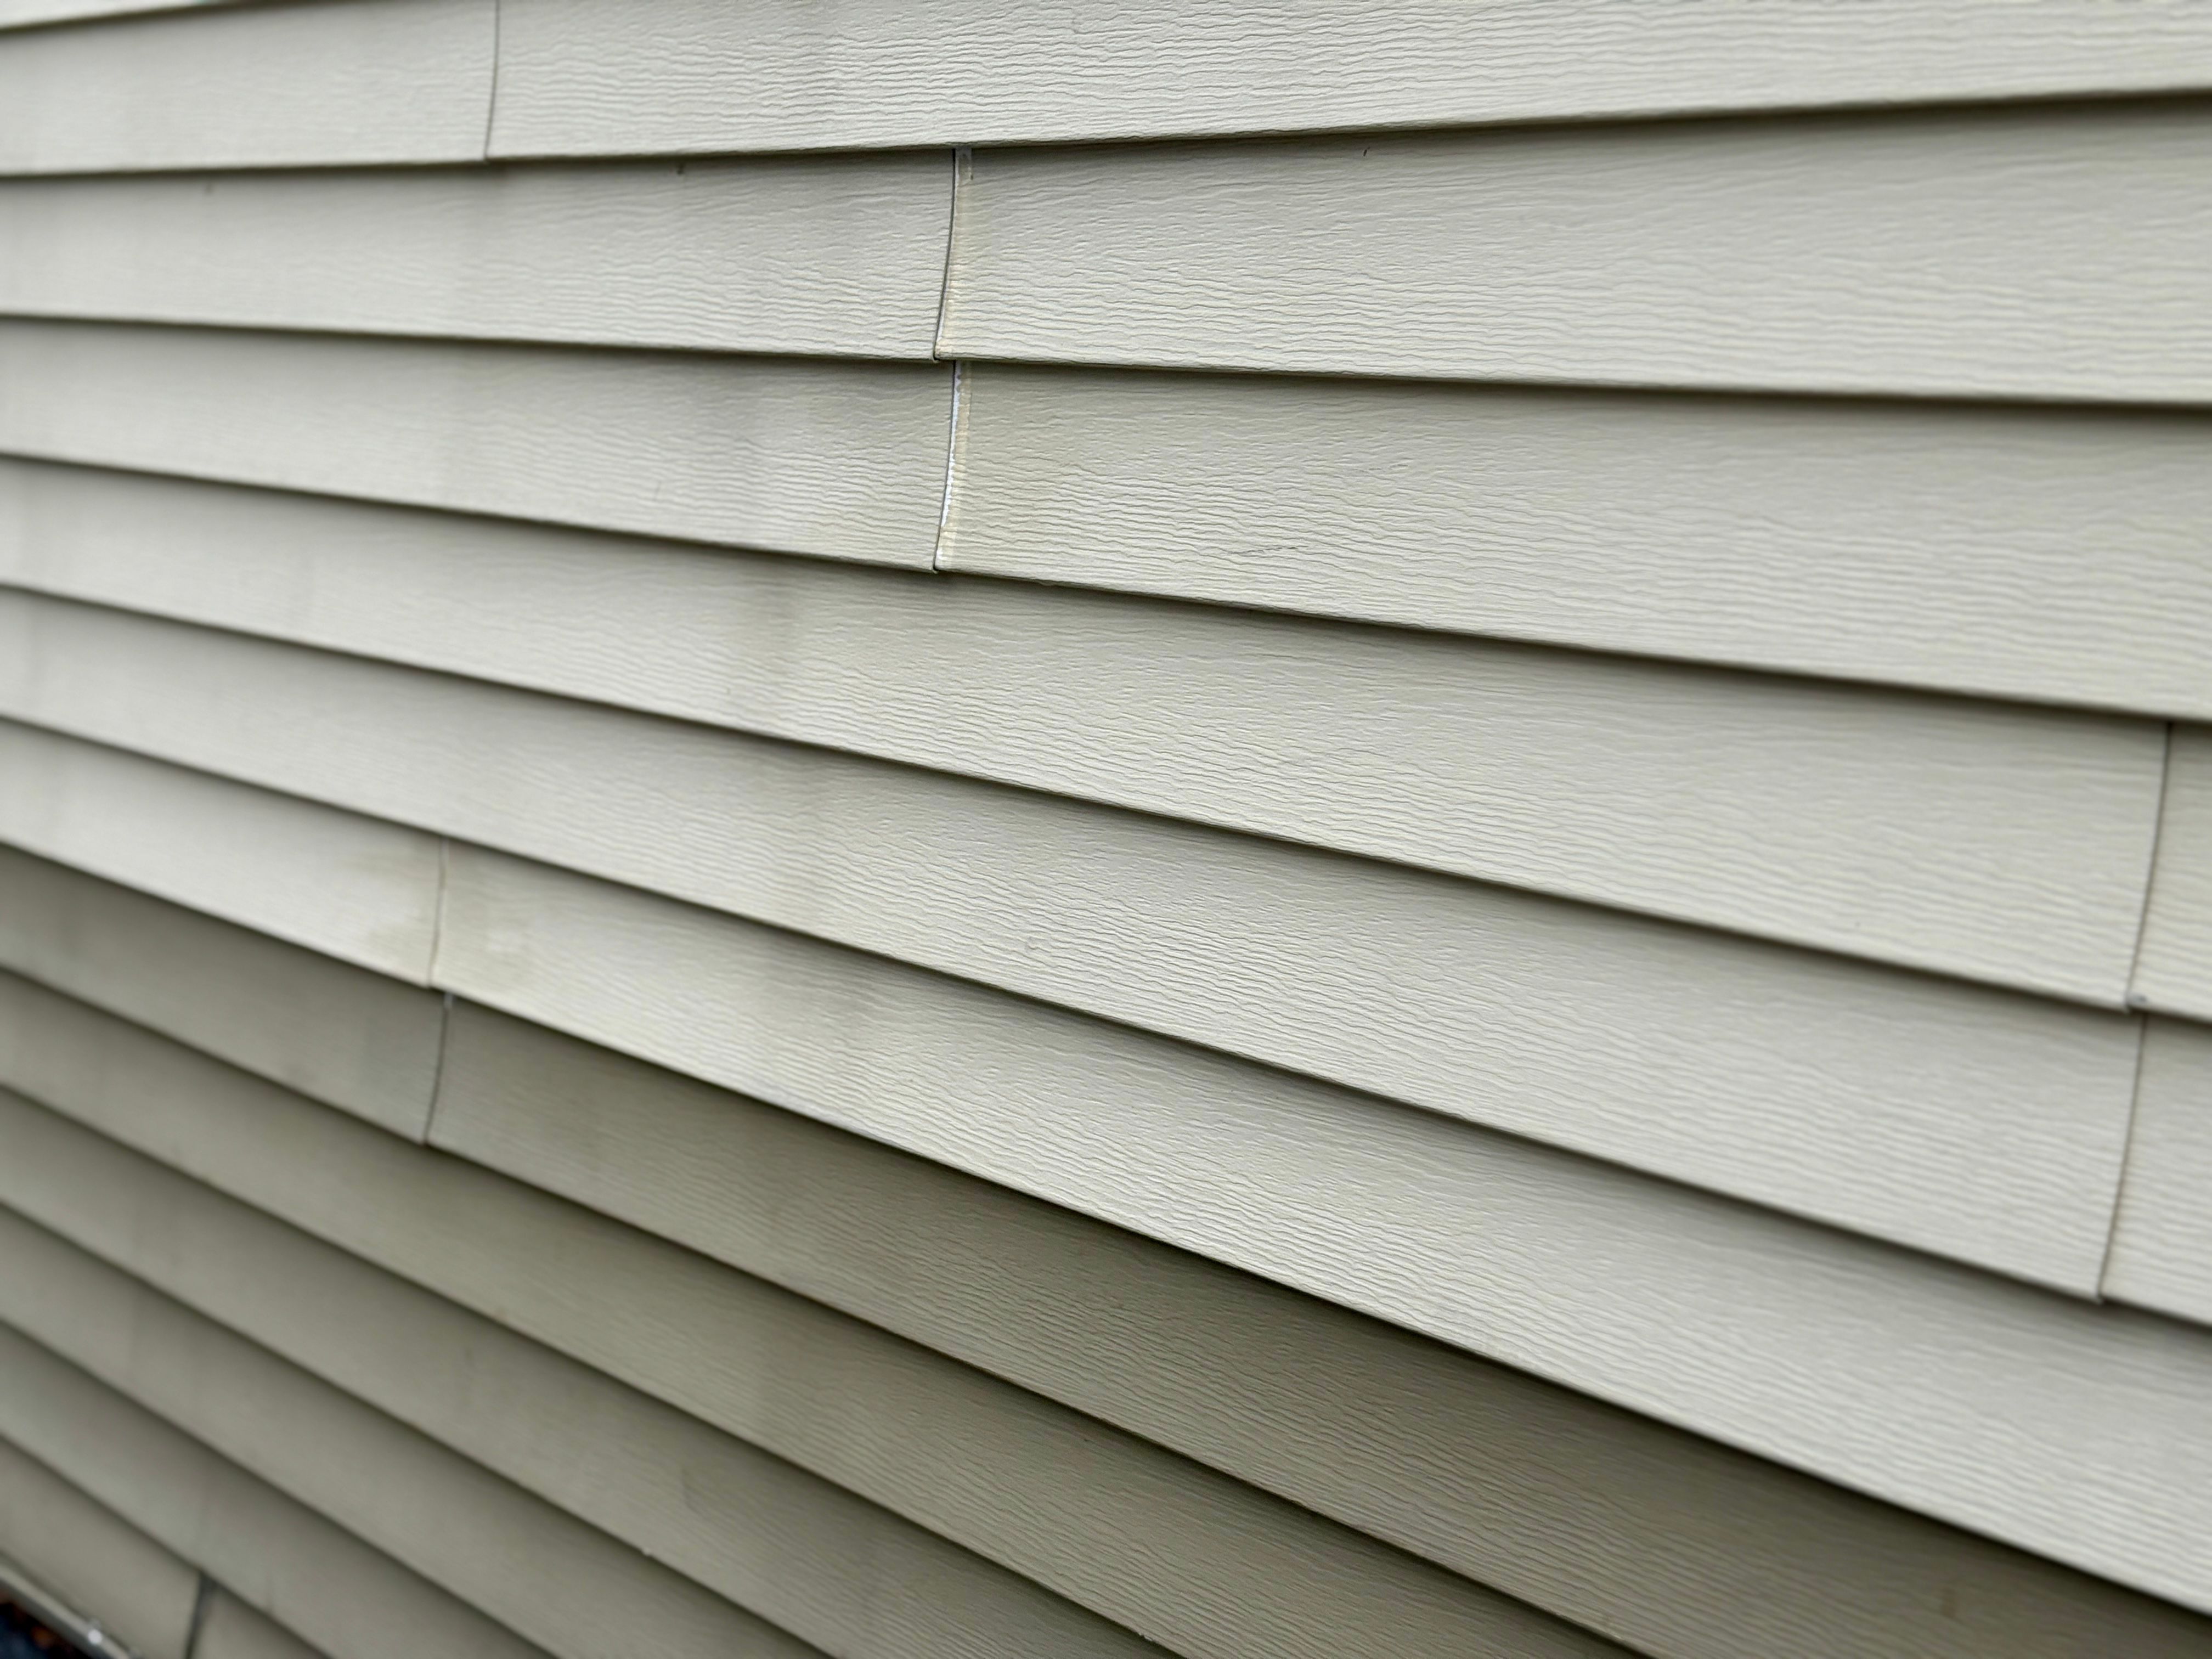
Repairing siding on your home can be a rewarding DIY project, but it's essential to understand the basics before diving in. Siding not only enhances the aesthetic appeal of your home but also protects it from weather elements. However, there are common mistakes that many DIY enthusiasts make, potentially leading to more significant issues down the road.
The key to a successful siding repair is preparation. Before starting, ensure you have the necessary tools and materials. Familiarize yourself with the type of siding you have, whether it's vinyl, wood, or fiber cement, as each requires different handling techniques.
Ignoring Safety Precautions
One of the most overlooked aspects of siding repair is safety. Many DIYers underestimate the risks involved, especially when working at heights. Always use a sturdy ladder and wear appropriate safety gear, such as gloves and safety goggles, to prevent injuries.
Additionally, be cautious of weather conditions. Wet or windy weather can make the task significantly more dangerous. Plan your repair work on a clear day to ensure maximum safety and efficiency.
Improper Removal of Damaged Siding
Removing damaged siding without the proper technique can lead to further damage. It's crucial to carefully pry off the damaged pieces without affecting the surrounding areas. Use a flat pry bar to gently lift the siding, and take your time to avoid cracking or splitting adjacent panels.
When dealing with older siding, be extra cautious as it may be brittle. It's also essential to dispose of old materials properly, following local regulations for waste disposal.
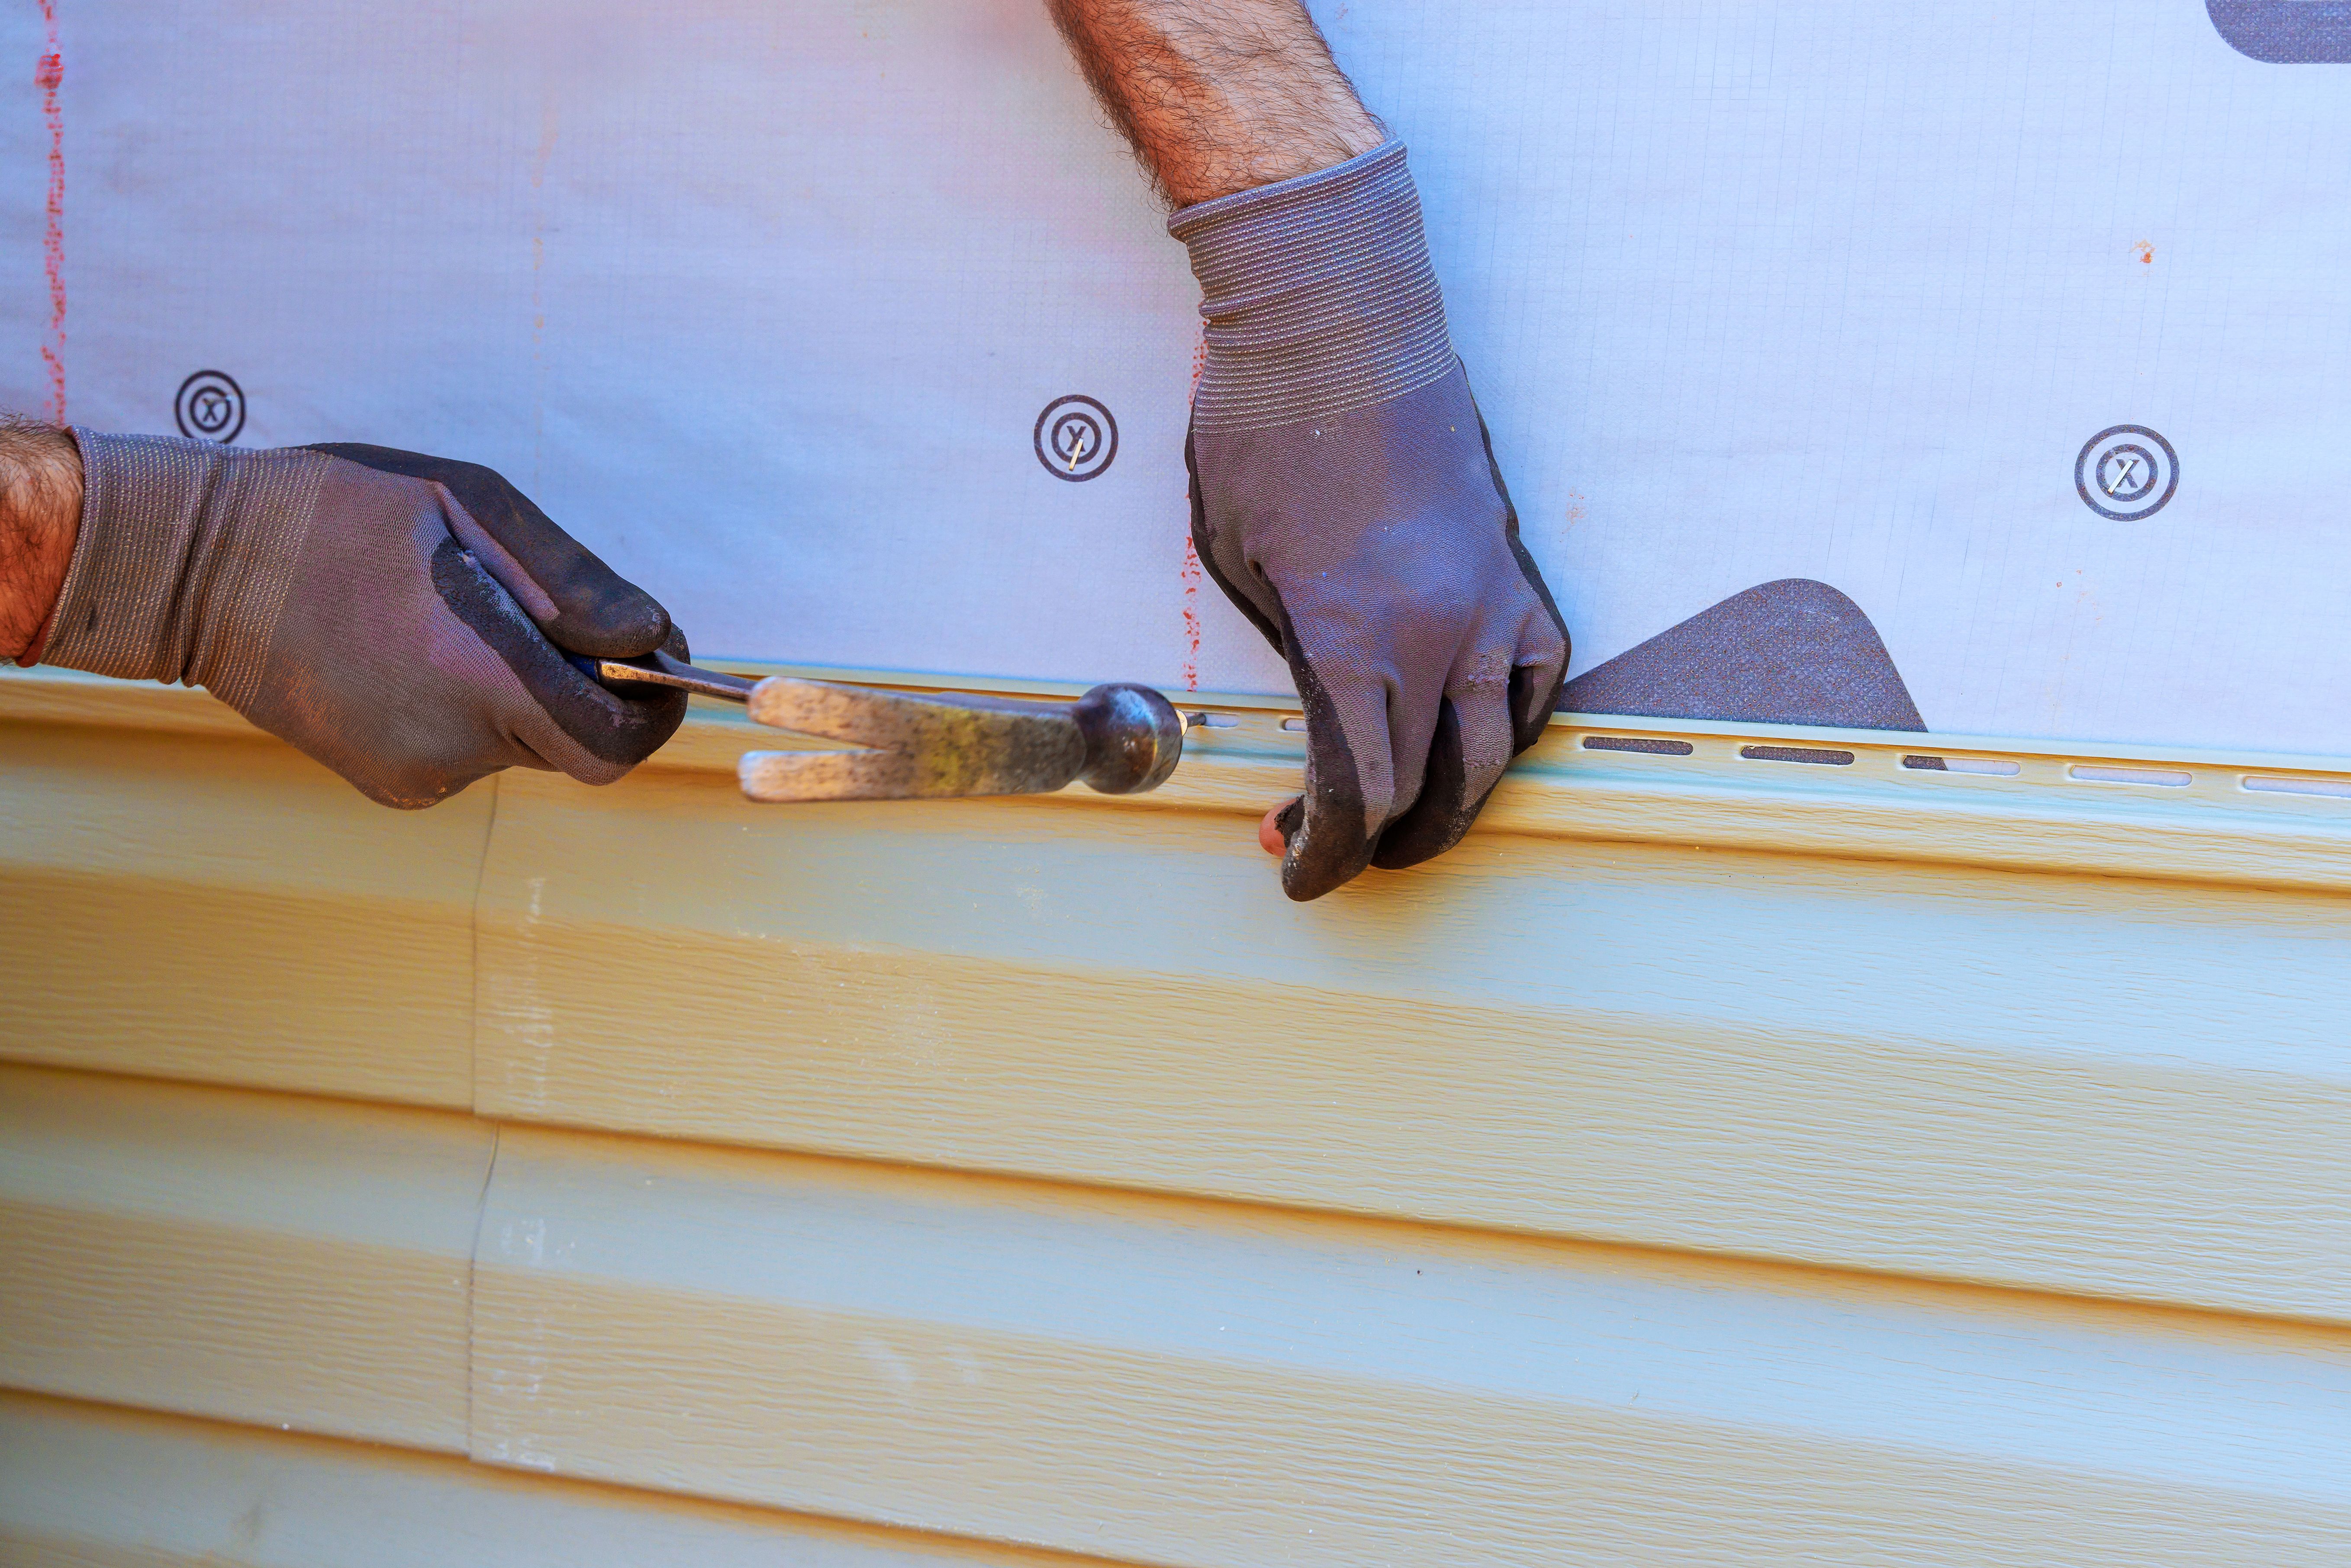
Incorrect Installation of New Siding
Installing new siding incorrectly is a common mistake that can lead to water leaks and reduced insulation. Ensure that each panel is aligned correctly and securely fastened. Pay attention to the manufacturer's instructions regarding expansion gaps, as siding materials can expand and contract with temperature changes.
Remember that the siding should be installed from the bottom up, overlapping each piece to prevent water penetration. This overlap is critical in maintaining the integrity and durability of the siding.
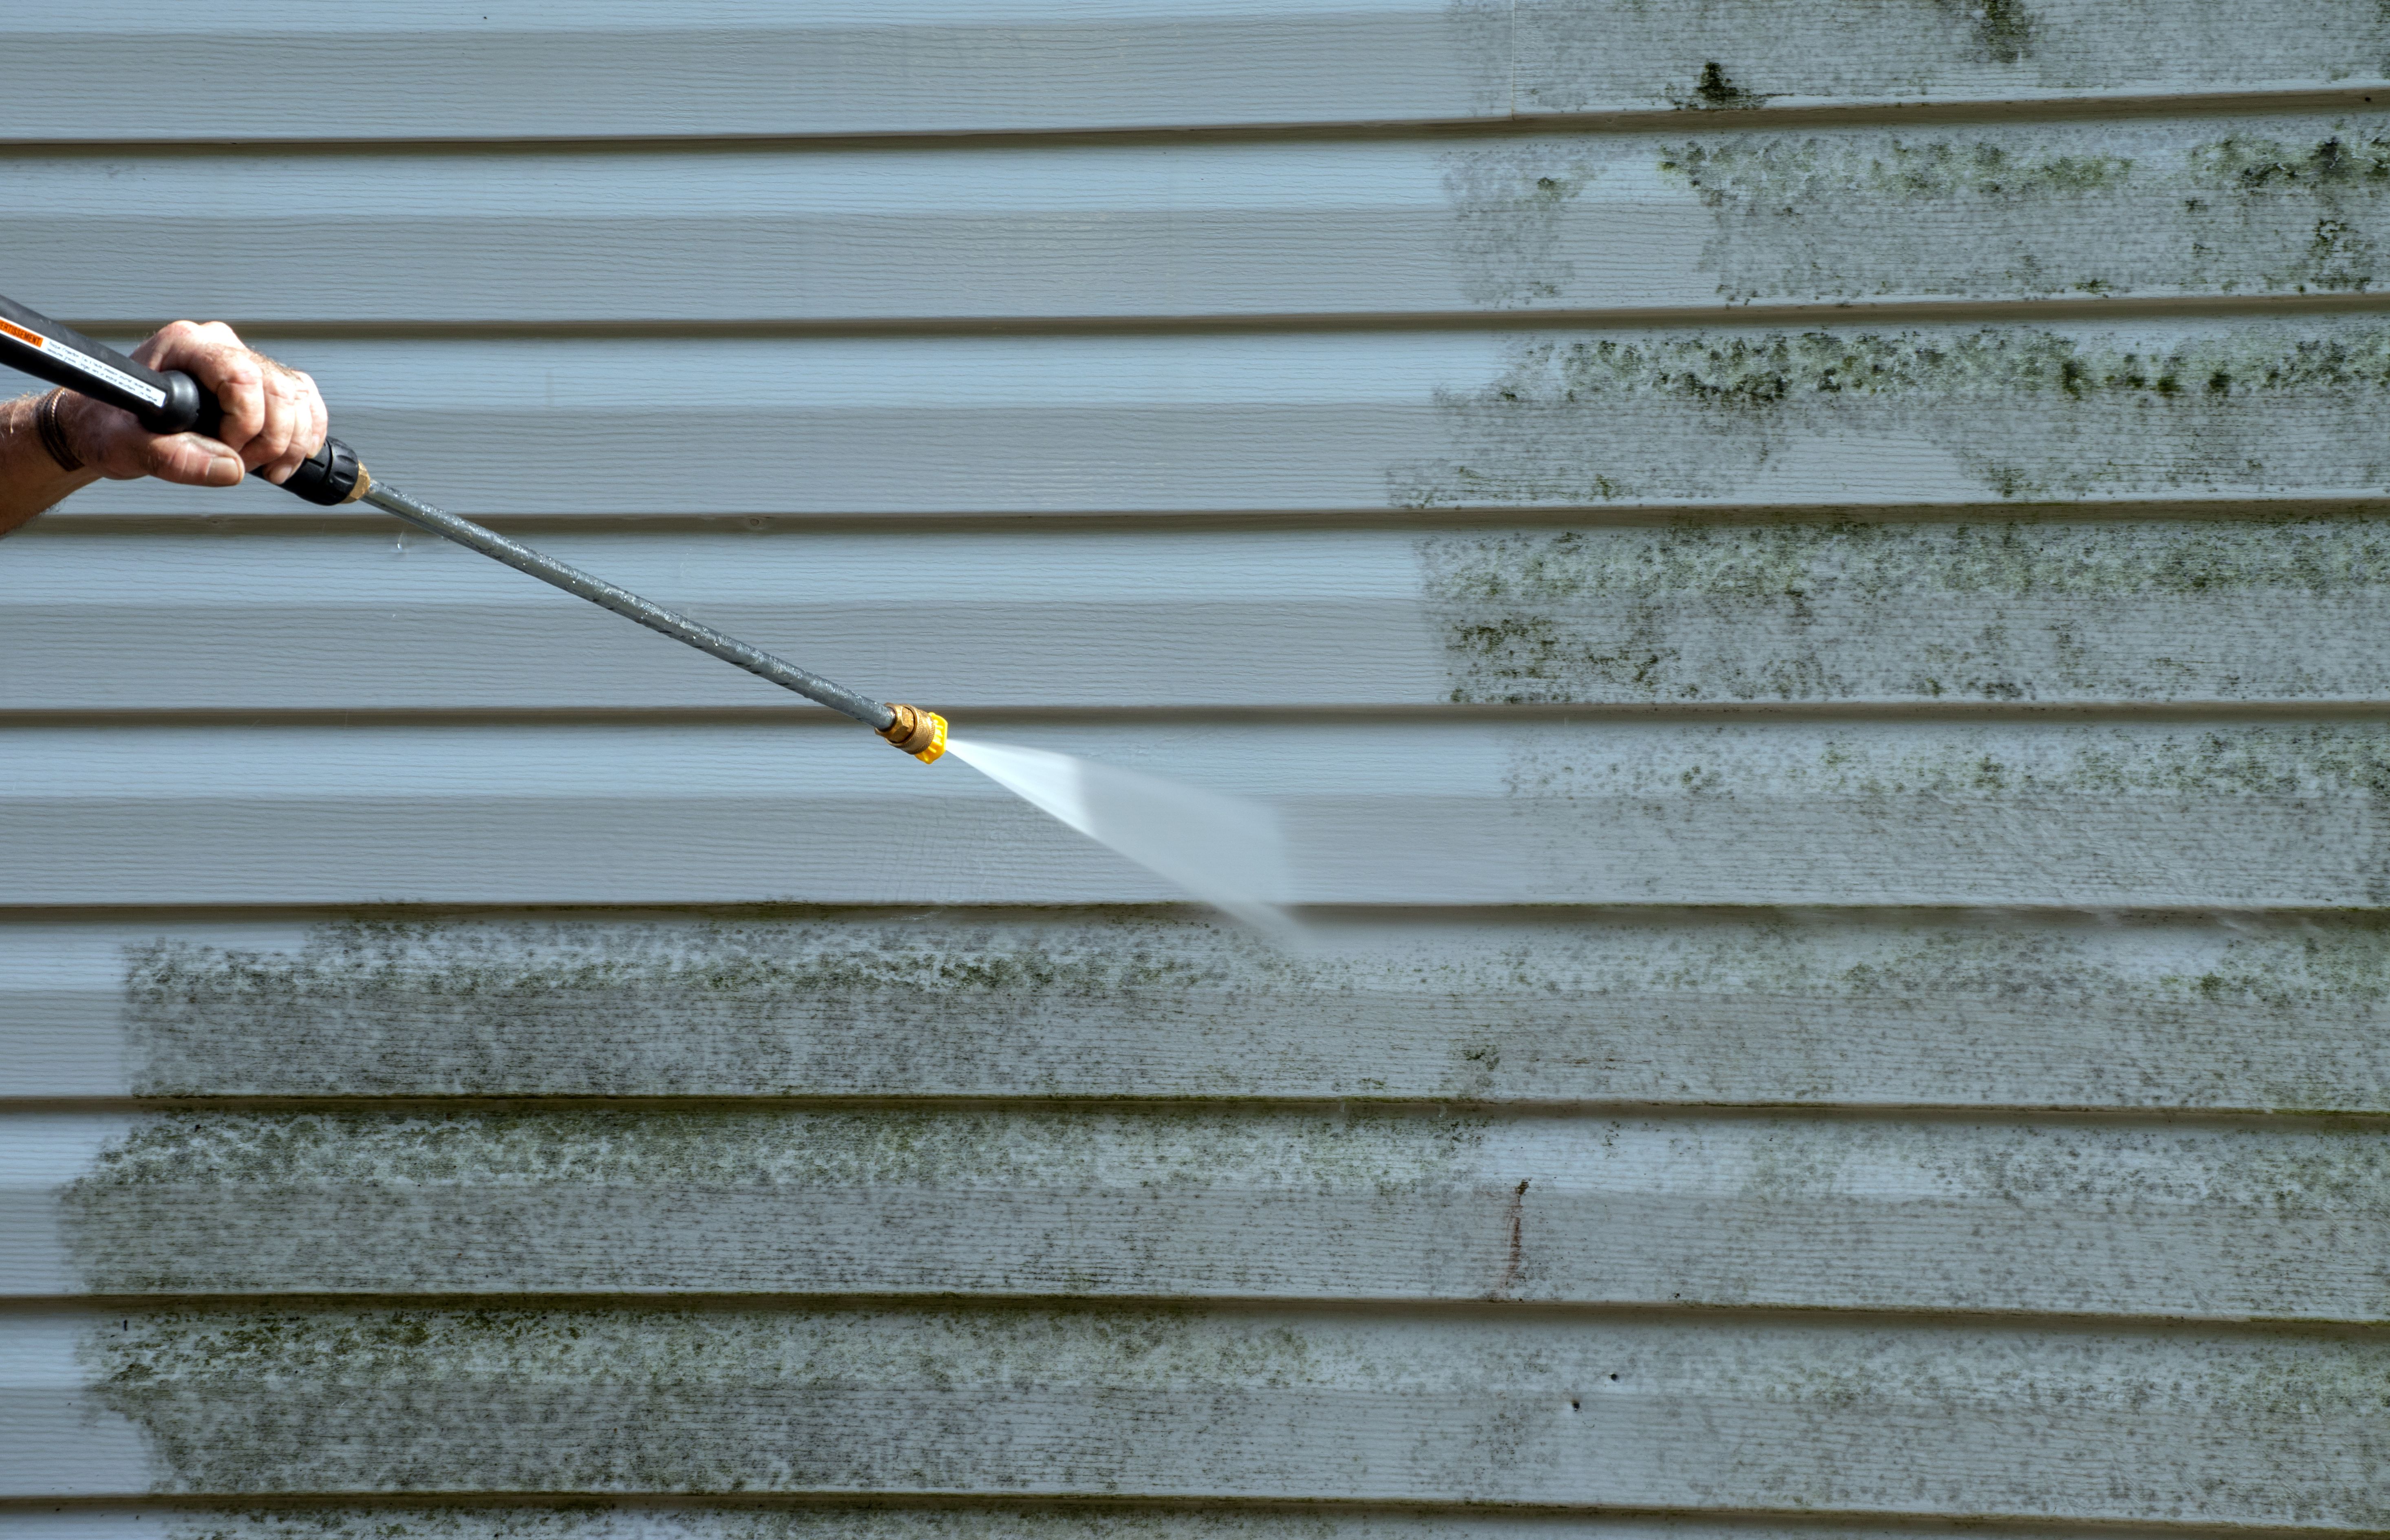
Neglecting to Seal and Finish
Once the new siding is installed, it's vital to seal and finish it properly. This step helps protect against moisture and extends the life of the siding. Use high-quality caulk to seal any gaps, especially around windows and doors, where water is most likely to penetrate.
Finally, apply a suitable finish or paint if necessary, following the manufacturer's recommendations. This not only adds an additional layer of protection but also enhances the overall appearance of your home.
Conclusion: Plan and Execute with Care
DIY siding repair can be a cost-effective way to maintain your home's exterior, but it's crucial to avoid common mistakes. By understanding the process and paying attention to details, you can successfully repair your siding and ensure it stands the test of time.
Remember, when in doubt, consult with a professional to avoid compromising the integrity of your home's exterior. Your safety and the quality of your home should always come first.